24 January 2008

onigiri

A few days before moving to HotelLand I decided to try making onigiri, or rice balls. I'd bought some onigiri wrappers at Daiso Union City and was anxious to see what they were all about. Also, I thought it would be a good food to have on hand in my hotel.

Between the instructions on the package and the tutorials from Lunch in a Box, I ended up with some pretty decent little rice balls.

Onigiri wraps
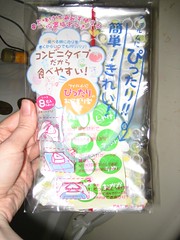
See the instruction figures on the bottom left corner? There were more detailed figures on the back, but they still weren't that helpful. I couldn't shake the feeling that I was doing something wrong because the wrapped onigiri just didn't look as nice and neat as I expected them to. (Click the image to be taken to the full size on flickr.)

Making onigiri 1
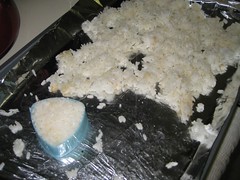
Spread the cooked rice on a flat, foil-lined surface to cool. Toss with some rice vinegar while it's cooling. Short grain rices work best, but you don't have to use specifically sushi rice. Anything with a little stickiness to it will be fine.

Making onigiri 2
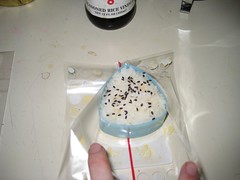
There's a triangle diagram on the wrapper to let you know where to place the mold. The wrapper opens in back and I think you spread the opening and place the onigiri on the inside.

As you're working with the rice, keep a dish of warm water nearby. Rinse your fingertips to keep the rice from sticking to them.

Making onigiri 3
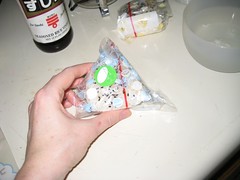
Remove the mold and figure out the best way to wrap and seal the plastic.

Bento 5
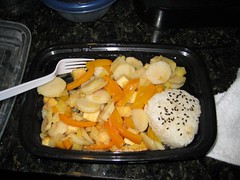
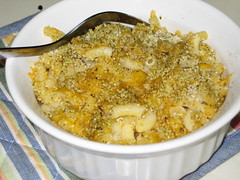
One of my hotel feasts. I found that the onigiri had to be removed from the wrapper and microwaved for the best taste and texture. So I'm not sure how well a wrapped onigiri would work in a bento if you're not microwaving the rest of the lunch. But they are awesome to have for adding to steamed veggies or leftover-based meals.

04 January 2008

Mini mac & cheese casserole

When Mike saw this photo on my flickr page, he practically started drooling. Unfortunately for him, I made and ate them on the sly. Next time I'll share!

This is my way of sprucing up a boxed mac-n-cheese mix and creating a super-satisfying comfort meal. I usually buy the Annie's gluten-free macaroni and cheese, but it should work for just about any kind, gf or regular.

I prepared the mac and cheese per the package directions. I ate about 1 serving as is, then divided up the rest into 2 Corniware 16-oz dishes. I let them cool to room temperature, then lidded and put in the fridge.

When I was ready to bake one for lunch, I took it out of the fridge and topped with fresh-grated cheddar cheese and Gluten-Free Pantry's Herbed Bread Crumb Coating. I put it, uncovered, in a 350-degree oven for 15 to 20 minutes. Here's a trick--if you don't preheat the oven, you can put a casserole dish in cold from the fridge. Then it heats evenly and you don't have to worry about cold dish / hot oven disasters. (I learned that from an over-eager Le Creuset sales lady.) It takes a little longer to warm through, but with such a small dish the time is minimal.

The fresh cheddar and the bread crumbs melted then crisped together for a delicious crust. Eating this for lunch on a cold winter's day warmed me all over. It's not particularly healthy, but it's totally yummy.

ShareThis

LinkWithin

Related Posts with Thumbnails